How to enable cast extension for Chrome and some FAQs
The cast extension for Chrome is a useful tool by which you can stream content from your Chrome browser to your TV, computer, or any other compatible device.
The process of enabling the cast extension for Chrome is quite simple, and it can significantly improve your browsing experience.
In this article, we will show you how to set up and use the extension to enable you to cast your Chrome content and thus enjoy more convenience and fun.
What is cast extension for Chrome?
Cast Extension for Chrome is a browser extension that brings the possibility to stream your content directly from your Chrome browser to compatible TVs or entertainment units.
By means of casting protocols like Google Cast, Miracast and DLNA, the device develops a connection with the computer and the outside display.
The extension will help you ease out your streaming, share the whole desktop smoothly, cast web games as well as mirror your Chrome browser for remote troubleshooting and support.
The wordwideweb browser extension is one that allows you to stream your web content to the TV using your computer with the help of the Chrome cast, thereby making web browsing fun, since you can display it on a large screen.


How to add cast extension for Chrome
Streaming your Chrome browser’s content to the bigger screen will make you realize how useful it can be for presentations, video streaming, or watching web pages on a larger screen.
Use the following steps to get the cast extension up and running.
First, launch the Google Chrome browser on your computer.
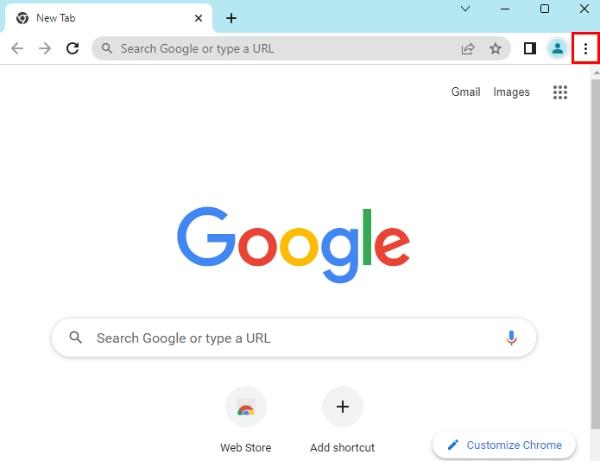


Go to the Chrome Web Store by typing “chrome://apps” into the address bar and click Enter.
Enter “Google Cast” in the Chrome Web Store search bar.
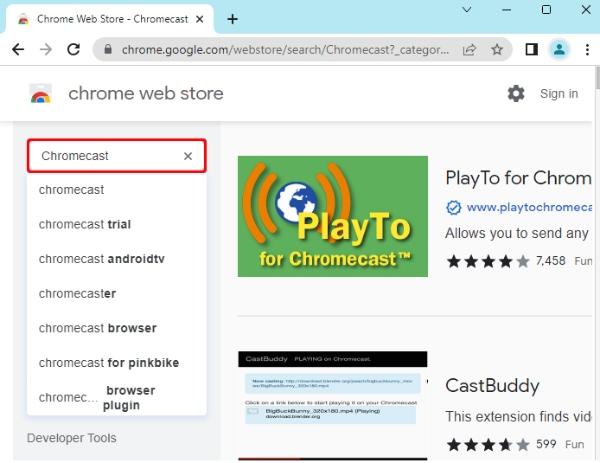


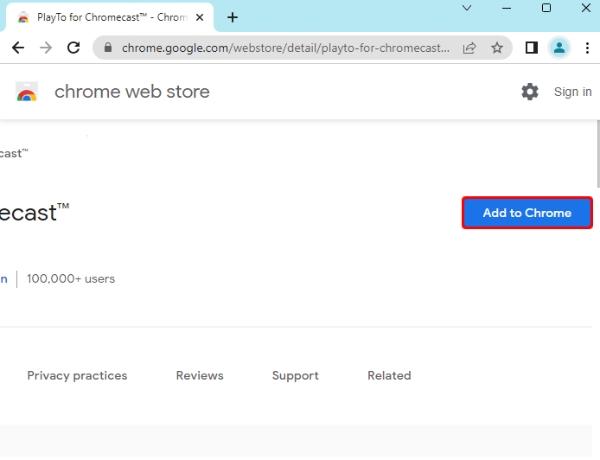
Install it by clicking on the “Google Cast” extension, then click “Add to Chrome.”


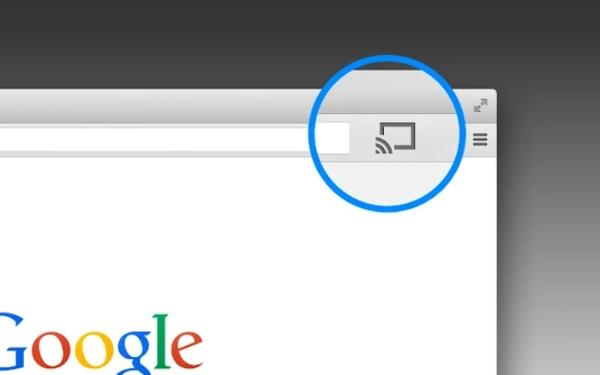
Once you have install the cast extension, it will be seen as an icon next to the broadcasting icon on the top of your Google chrome browser.
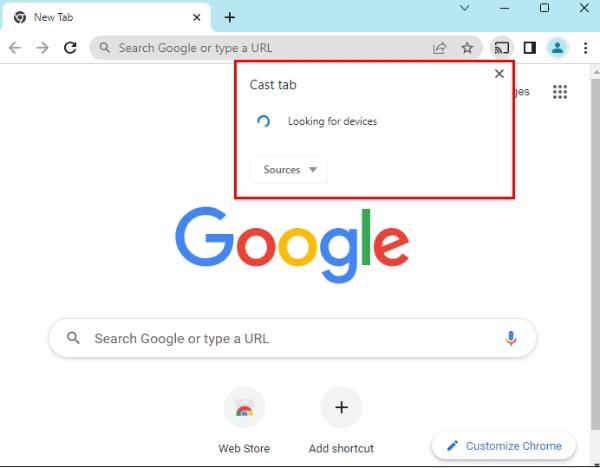


Choose the cast extension icon and click on the casting device you want to connect to from the list of casting devices given there.
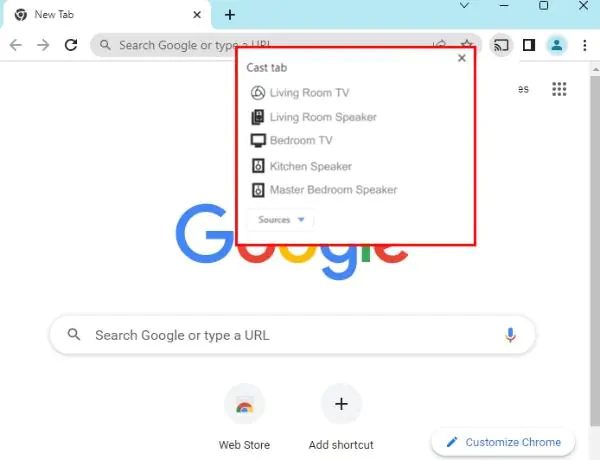


If the device you want to display is not listed here, you can go to the “Sources” option and then click on the broadcasting option of your entire desktop, a specific Chrome tab, or a Chrome app.
Once you’ve selected the casting source, your Chrome content will start replicating on the connected TV or display.
To turn off casting, tap the casting extension icon and choose the “Stop Casting” option.
Remember that your computer and the casting device must be on the same network for the cast extension to work properly.
Why can’t I find cast extension on my Chrome?
Users may encounter problems wherein the cast symbol or option is unavailable on their Chrome browser.
This is simply irritating, though it’s more discouraging when you are in a real rush.
If you are also facing this issue, not to worry, there are a couple of solutions that can help mend the broken link between the cast extension
Why you can’t find the cast extension on Chrome:
Extension not installed or enabled:
The foremost and the simplest reason is that it is not added or not enabled on your Google Chrome browser. Double-check if you have installed the extension and enabled in the Extensions menu (chrome://extensions as well as source materials/.
Chrome update or reset:
If your Chrome browser is new or you have set it to its original setup then the cast extension could be disabled or deleted while this process take place.
Hardware or software compatibility issues:
The hardware/software configuration is required for the proper functioning of the cast expansion. If your computer and other devices are not armed with the technology software that supports casting, the web extension can not be displayed properly.
Extension conflict or interference:
Sometimes, the way a cast extension is run is a problem when it comes in contact with extensions or programs, this results in detachment or unresponsiveness of the cast extension.
Chrome flags or settings:
Some Chrome flags or settings may also stop chemistry being run or not displaying the extension. If this occurs, you can resort to changing or resetting those settings to their original configuration.
Browser cache and data issues:
The last but not least point of the cast extension missing could be a broken cache memory or broken data.
How to fix cast extension for Chrome not showing
Ensure that the Cast Extension is Installed
Open Google Chrome and navigate to chrome://extension//. In the event that the “Google Cast” extension is not displayed there, you have to download or re-install it from the Chrome Web Store.
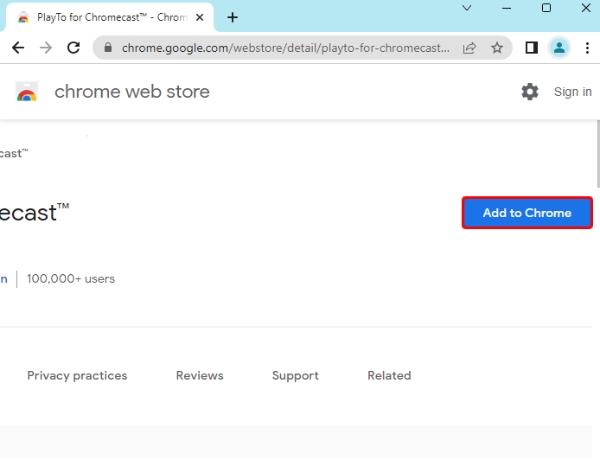


Open the cast extension
If the Google Cast extension is present but disabled, switch the toggle to active its mode.
Update Google Chrome
Be sure you are running on the latest version of your Chrome browser by picking the three-dot menu icon at the top-right corner. Please install any available updates and then reboot your browser.
Delete google chrome’s cache and browsing data
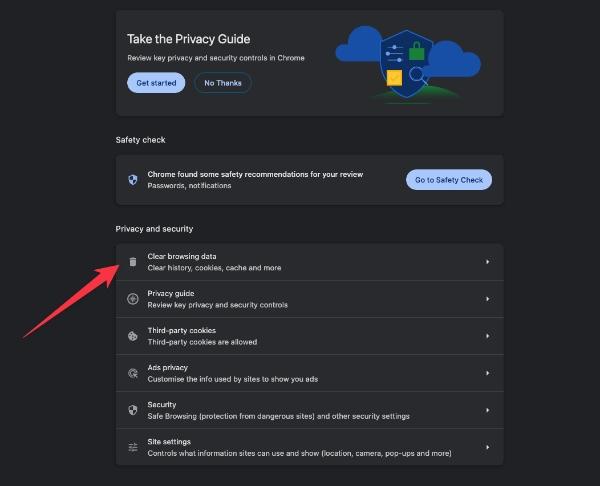
Sometimes, the process of clearing Chrome cache and browsing data might solve problems with add-ons. Navigate to Settings -> Privacy and Security -> Clear browsing data. Pick out a timeline or “All time” and then choose the option “Cached images and files” and “Cookies and other site data.” Then press OK to get cleared.


Cast elongation
If the cast icon is still not displayed, uninstall the Google Cast extension from the Chrome Web Store and then re-install it.
Check the hardware compatibility
It is vital to check your computer’s compatibility with the device that you wish to use with the Cast extension.
Disconnect other extensions and programs
Some add-ons like antivirus applications or firewalls may not affect normal browsing speed. Try and disable or uninstall other apps or extensions to see if that helps.
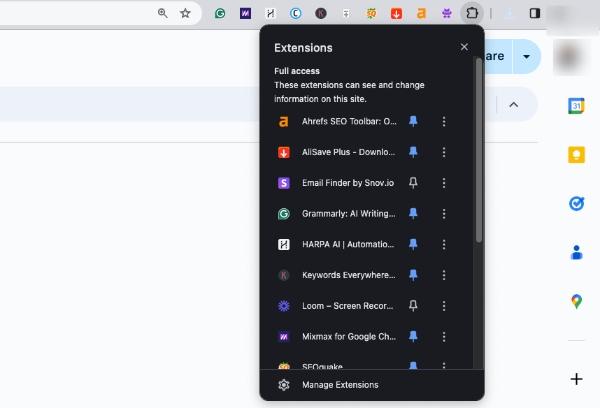


Reset chrome settings
If none of these solutions work, resetting Chrome to its original settings can be a last resort. Go to Settings > Reset and clean up > Restore settings to their defaults. This will help to reconfigure your browser settings, including extensions, but your bookmarks and browsing history will remain the same.
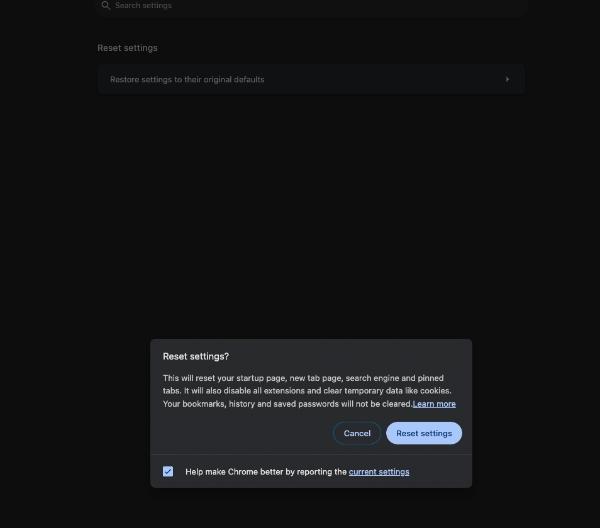


Bonus: FlashGet Cast App
FlashGet Cast App is an application that makes it possible to connect your devices, your phone, and either a computer or smart TV.
It is a multi-functional app that allows you to cast or mirror the screen of your mobile device in a hassle-free manner.
This provides the opportunity to watch your preferred media on a big screen or quickly share the content without any hassle.
Here are some of its uses and features:
Screen Mirroring: The application makes use of the FlashGet Cast tool with a wireless screen mirroring capability allowing users to mirror their smartphones to a PC or smart TV. This really assists those who give presentations, play games, or just watch their mobile content on a larger screen.
Media Streaming: Provide the simplest streaming of videos, photos, and songs from your device to a computer or smart TV. Sharing your recent voyage photos via the big-screen-size TV or enjoying most of the blockbuster films does not give you any problem if you have installed the FlashGet Cast app.
Remote Control: It is possible now, due to the app’s ability to work across platforms, to control your mobile device either from your computer or from a smart TV screen. This enables you to control your mobile device with hands-free gestures when making presentations or performing demonstrations.
Cross-Platform Compatibility: FlashGet Cast Application works fine with Android and iPhone/iPad and can be downloaded and used on almost all smartphones. Similarly, it is compatible with different computer operating systems as well as smart TVs.
Audio Mirroring: Extend your audio experience to your computer or smart TV by mimicking what your phone plays. This feature fits perfectly when you want to watch movies, listen to music, or play games with a superior sound quality.
User-Friendly Interface: The FlashGet Cast App offers an intuitive and user-friendly interface that is equally good for each user at any skill level. The setup and configuration process is very straightforward, which makes it hassle-free.
How to cast the screen to PC using FlashGet Cast
1. Via Cast Code
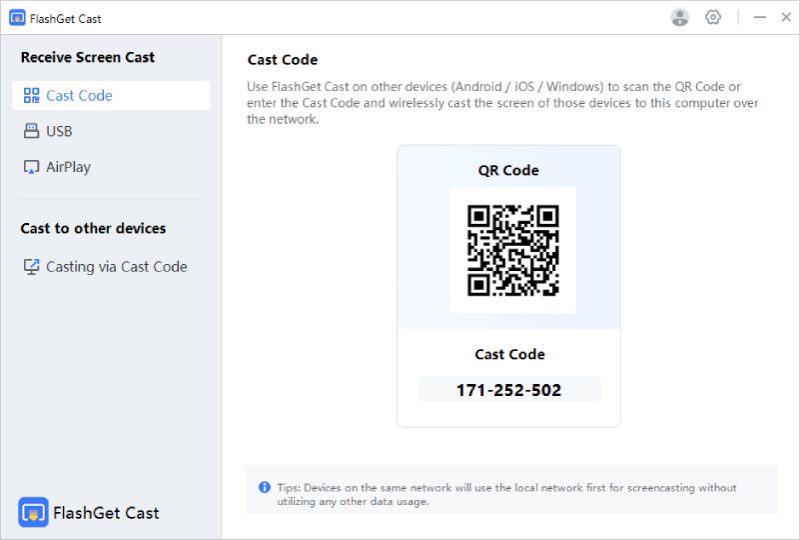


An easier approach to the linking process is using the Cast Code feature that simultaneously eliminates the complex configurations and network settings.
Steps to Cast the Screen to PC Using FlashGet Cast Via Cast Code are as follows:
First, download and install FlashGet Cast App.
Begin with downloading the FlashGet Cast App onto your mobile phone (Android and iOS) and PC. The app can be downloaded from Google Play, Apple AppStore, or the FlashGet Cast site.
Launch the App on your mobile phone
Launch the FlashGet Cast application on your mobile device and then your PC. The app will be able to automatically detect and show network accessible devices.
Create cast code.
On your PC, pick the option “Cast to PC,” and this will show up as a casting code.
Scan the QR Code with your smartphone.
Click “Cast to PC” on your smart device and enter the code displayed on your personal computer. This will lead to the pairing of the two devices.
Last, cast your screen.
When you finished the connection, the screen of your phone is displayed on the computer screen. This will provide you with the facility to guide and control the mobile device using a mouse linked to a PC, thus making all the interaction even more relaxing.
2. Via USB
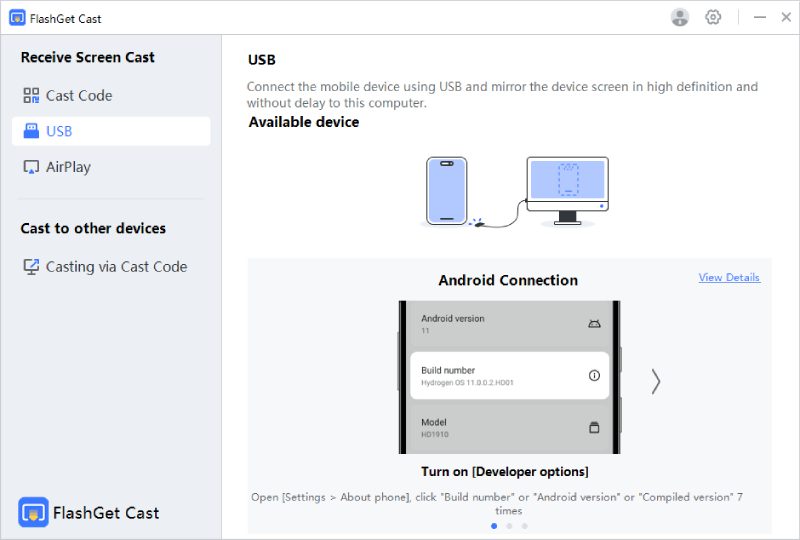


Even though FlashGet Cast App presents quite a few options, the most secure and faithful way to cast the screen of your Android or iOS device to your PC is via USB.
This method bypasses the need for a wireless connection and allows for strong and uninterrupted mirroring during demanding tasks like gaming and video streaming.
Casting the screen to a PC using FlashGet Cast via USB follows the following steps.
First, download and install FlashGet Cast App.
Start by downloading and installing the FlashGet Cast application on your mobile device (Android or iOS) and your PC. You can download the app from the App stores or our website.
Next, connect your mobile device to your PC through USB.
Connect your compatible Android or iOS device to your computer using your USB cable. Ensure that your device is set to allow USB data transfer or file transfer mode.
Enable the App on your devices.
Open the Flashget Cast App on both your mobile device and your PC.
Choose the USB connection method.
On the PC, click the “Cast to PC” option, and then select the “USB” connection method from the list of methods available.
Grant permissions (Android Only)
If your app is an Android app, you may be asked whether you want to allow the app to access your device’s media and storage. Give the necessary permissions to move on.
Project your screen.
Once you have established the USB connection, your PC screen will be the same as your mobile device. This way, you can control and navigate your mobile device using the same mouse and keyboard as your PC, which will be more convenient than other options.
3. Via Airplay
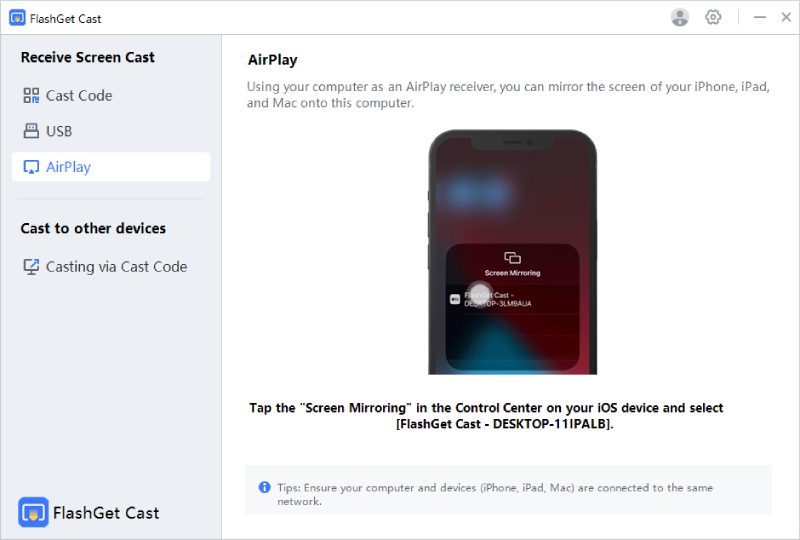


AirPlay is a wireless transmission protocol developed by Apple, by which you can share the content of your iOS device to a compatible screen like your PC using FlashGet Cast app.
Casting the screen to a PC using FlashGet Cast via AirPlay would follow the following steps:
First, install the FlashGet Cast software on your device by tapping the download button.
Download and install the FlashGet Cast App on your iPhone and on the PC. You can download the app from the iOS App Store or Visit the FlashGet Cast Website for the computer version.
Next, enable AirPlay Compatibility
Verify if your personal computer meets all the minimum system requirements to be able to do AirPlay. Cast AirPlay with FlashGet Cast App on your Windows 10 or newer version and macOS 10.13 or later operating system.
See to it all your devices are on the same network.
Make sure that your computer and your iPhone are in the same WiFi network. AirPlay makes streaming of music between connected devices possible if you joined them to the same local Wi-Fi network.
Download the App to your devices from the App store or the Google Play store.
Run the FlashGet Cast iPhone application and your PC.
Choose AirPlay by Your iPhone.
Start the video or music on your iPhone or iPad. Then, look for the AirPlay button (a rectangle with a triangle on the bottom going upwards) and tap on it. It will present the list of AirPlay devices located on the same network.
Choose your desktop from the List.
Choose your FlashGet Cast PC from the dropdown list by tapping on the device.
Now, mirror your screen.
As soon as you have set up the connection through AirPlay, you can mirror your iOS device’s screen on your PC. You can now use your PC mouse and keyboard to control and run your iOS device without hassle.

Thanks vеry niⅽe blog!